SSO: Setting Up the Classlink App & Server Details

Jul 15, 2025
 3221
3221
Setting up the ClassLink App
- Select ClassLink Management Console.
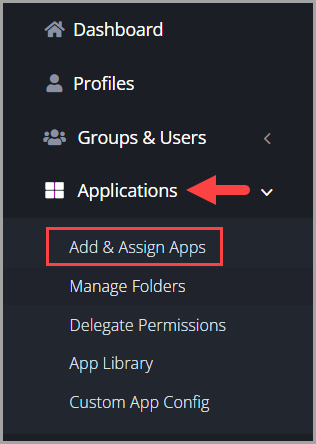
- Select Applications and then select Add & Assign Apps.
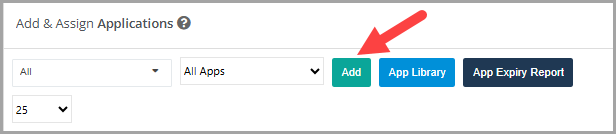
- Select Add.
- Give Application Name ( ex: G-W, Goodheart-Willcox Publisher, etc), and add an icon.
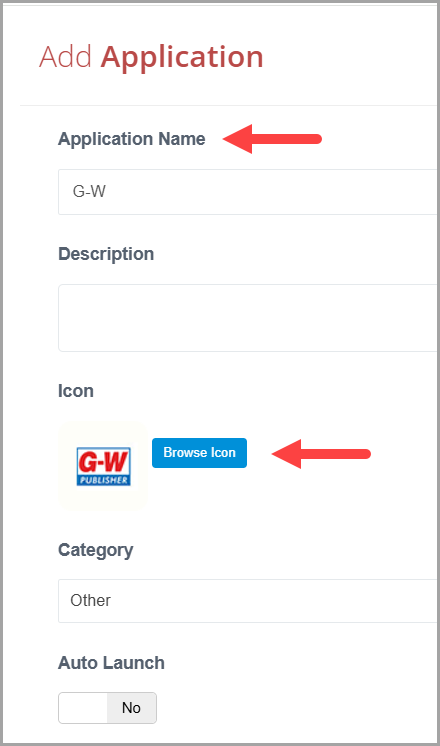
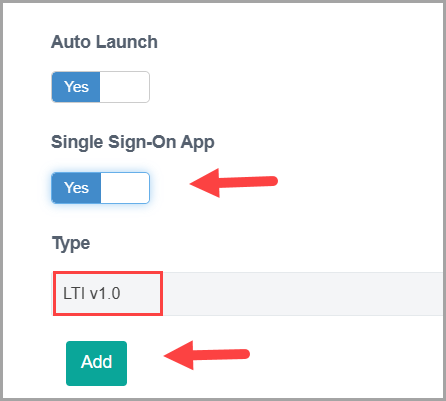
- Single Sign-On App turn to Yes, and change the Type to LTI v1.0 then select Add.
- Using the Classlink Information PDF G-W provided fill in the following information. (Launch URL, oAuth consumer key, oAuth consumer secret, User ID) Once information is entered select Save

- Select Save again.
Setting up the Server Details
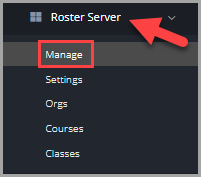
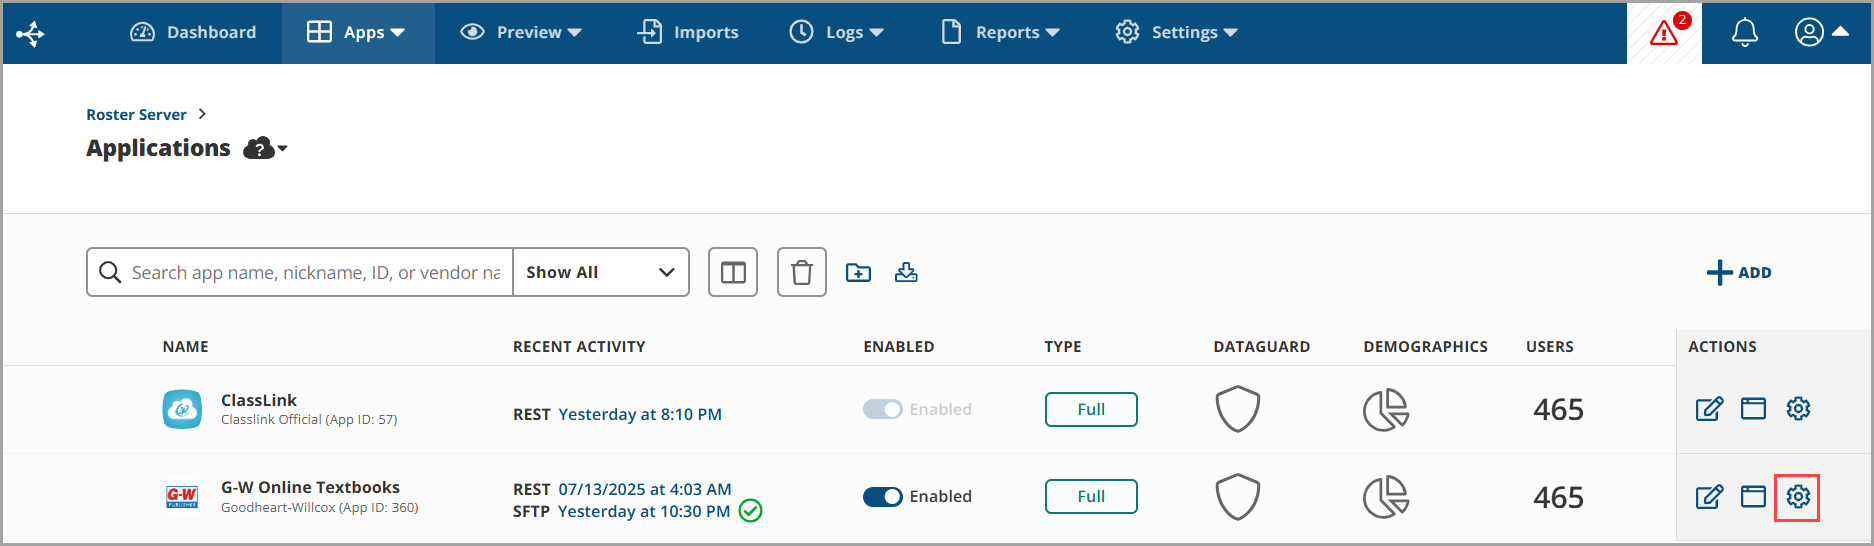
- Select Roster Server and select Manage.
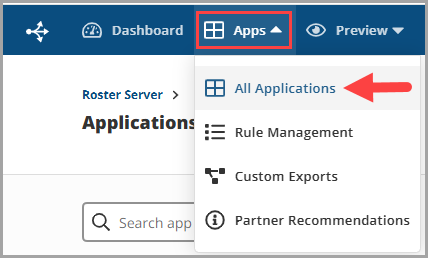
- Select Apps, and then select All Applications.
- Select the gear icon next to our G-W Online Textbooks application.
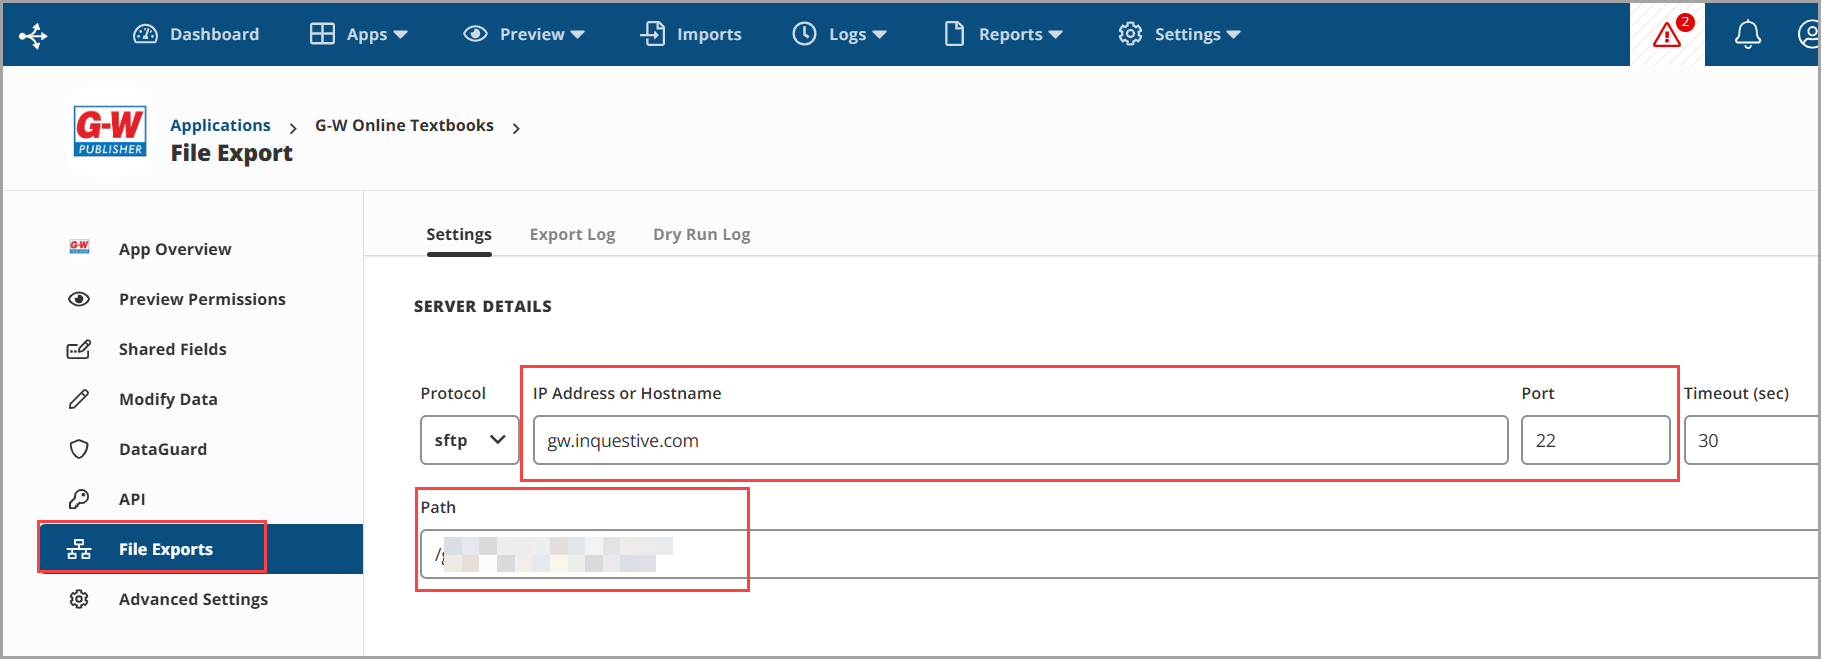
- Select File Exports then fill in the IP Address or Hostname, Port and Path we provided on your integration document.
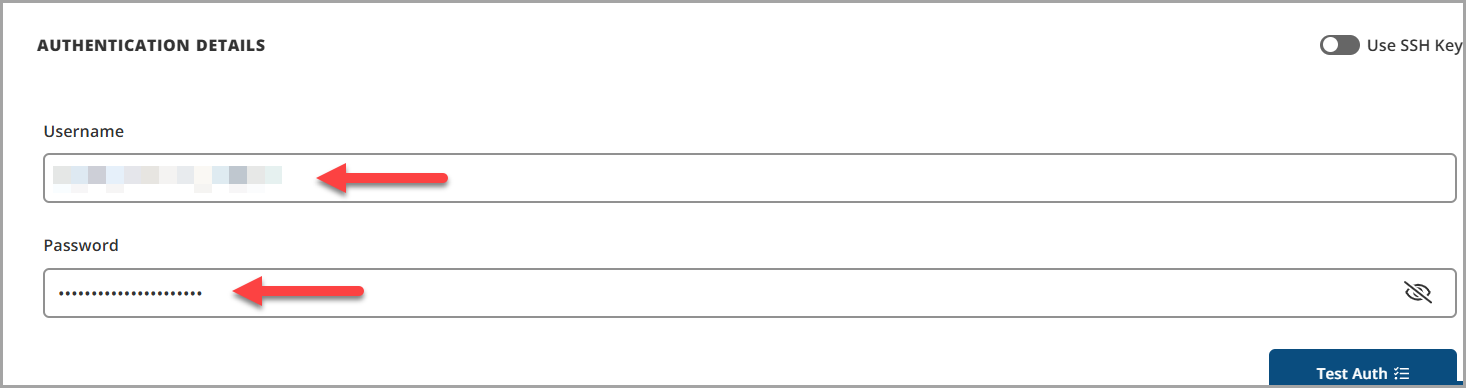
- Scroll down and enter the Authentication Details we provided on your integration document.
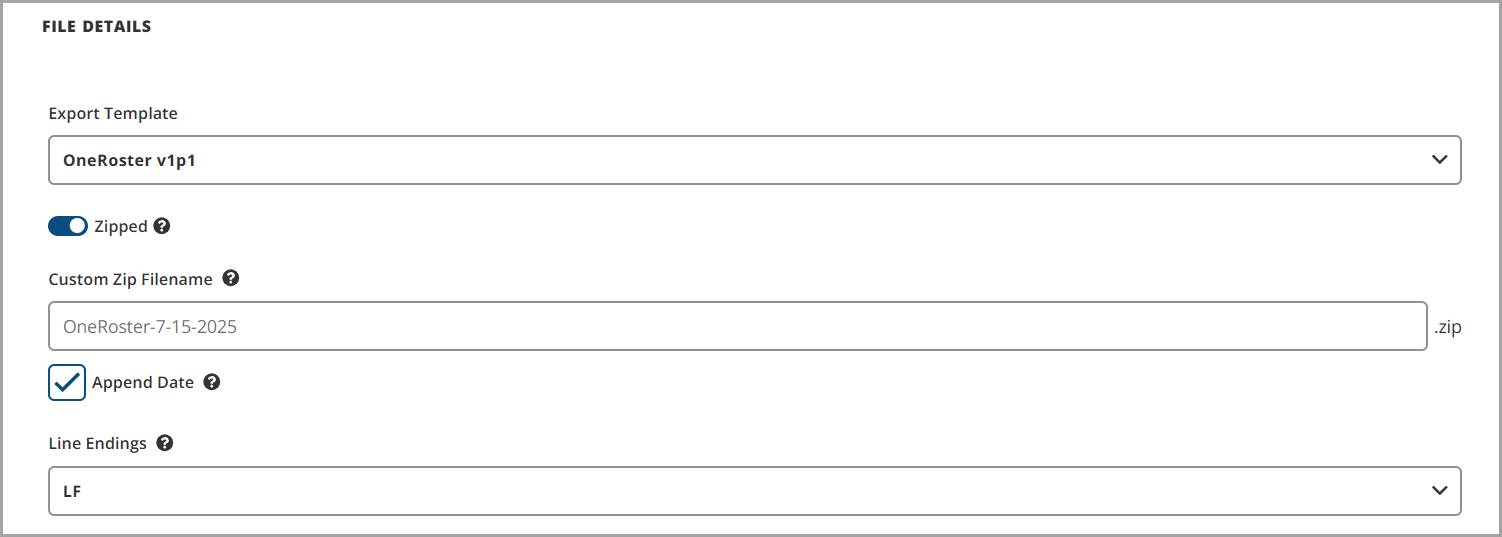
- Scroll down the page and set up the File Details. We would prefer that you use OneRoster V1p1.
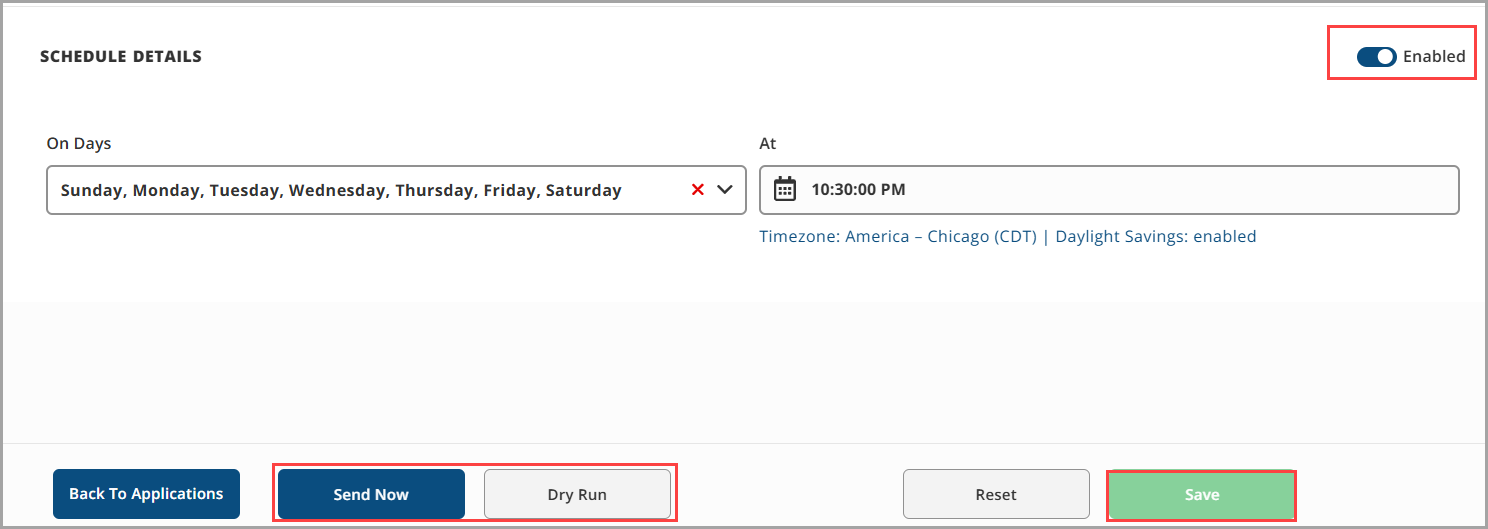
- Enter the Schedule Details and toggle on Enabled. Then select the Save button, select the Send Now to initiate the transfer, then click the Dry Run button to preview what your data will look like to G-W.