Schoology: How to Import Question Bank/Exam Files for Health Titles Copyright 2025

Mar 25, 2026
 0
0
Both System Administrators and Instructors have the permissions to import question bank/exam files into Schoology once they have activated their subscription.
First, you'll need to download the Question Bank Files from the Online Instructor Resources:
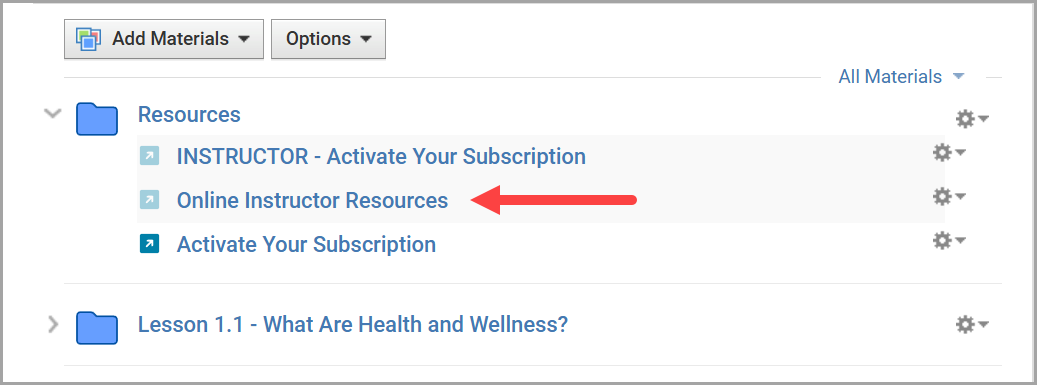
- Select the Online Instructor Resources link from your Schoology course.
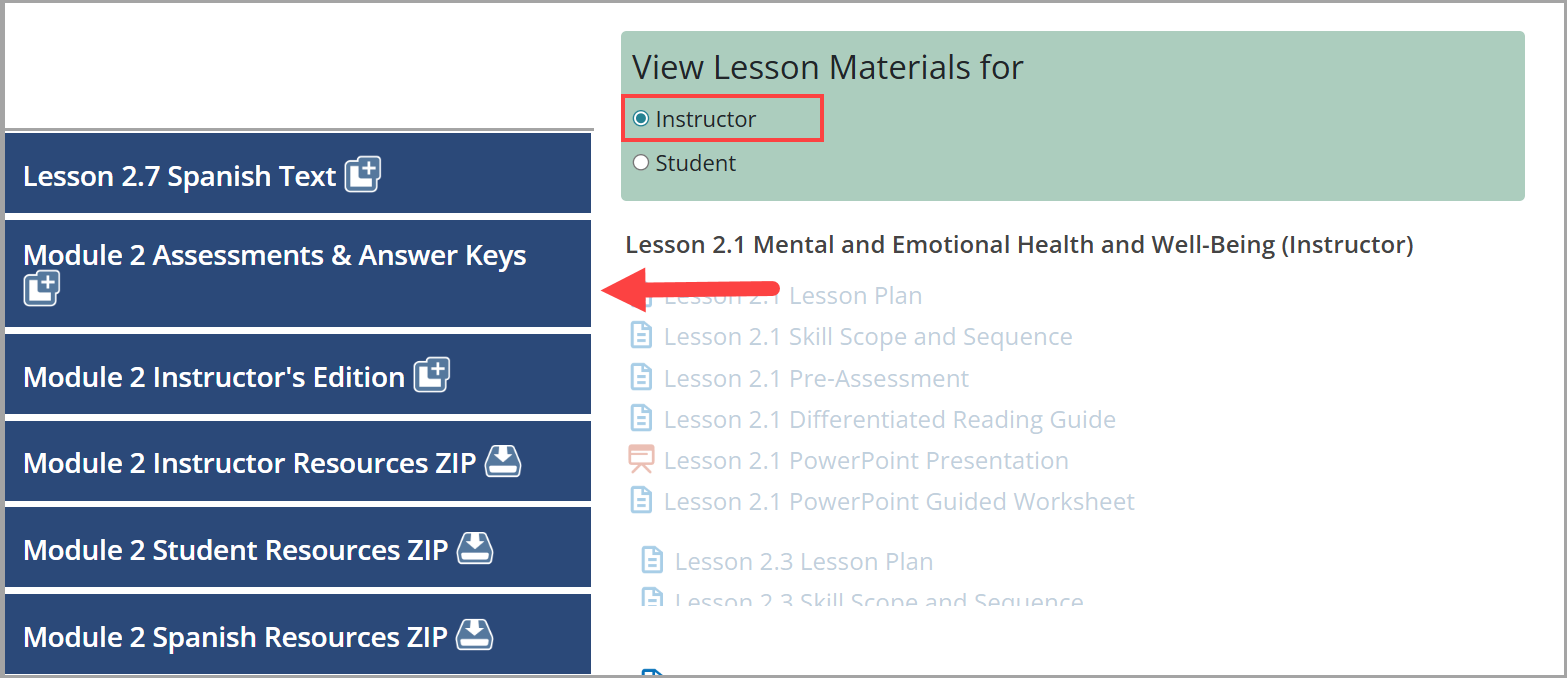
- Select a specific Module for which you would like to access the question bank files for use in Schoology.

- View the Lesson Materials for Instructor then select Module 2 Assessments & Answer Keys.
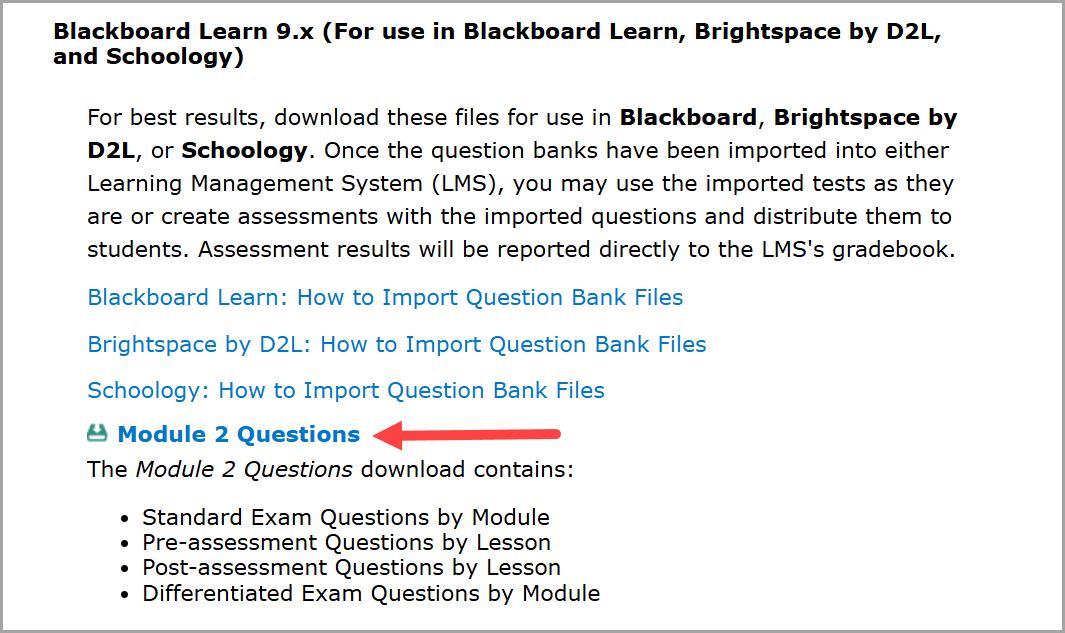
- Scroll down until you see the Blackboard Learn 9.x (For use in Schoology) section. There are a number of question bank files available for this title. Select Module 2 Questions link which is a .zip folder that will download to your local hard drive.
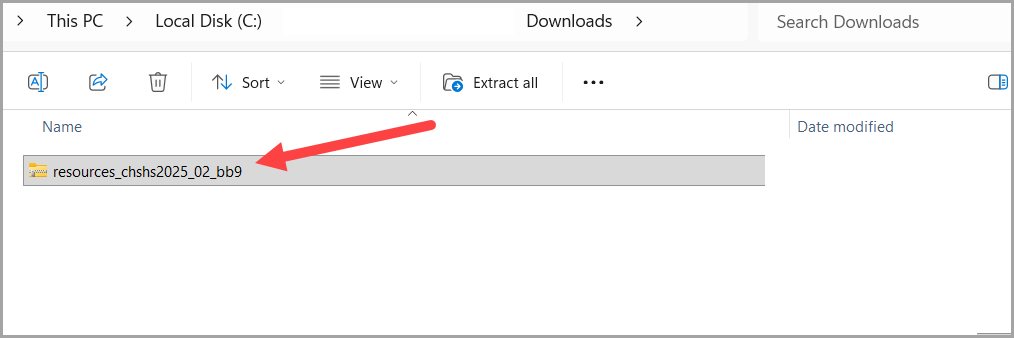
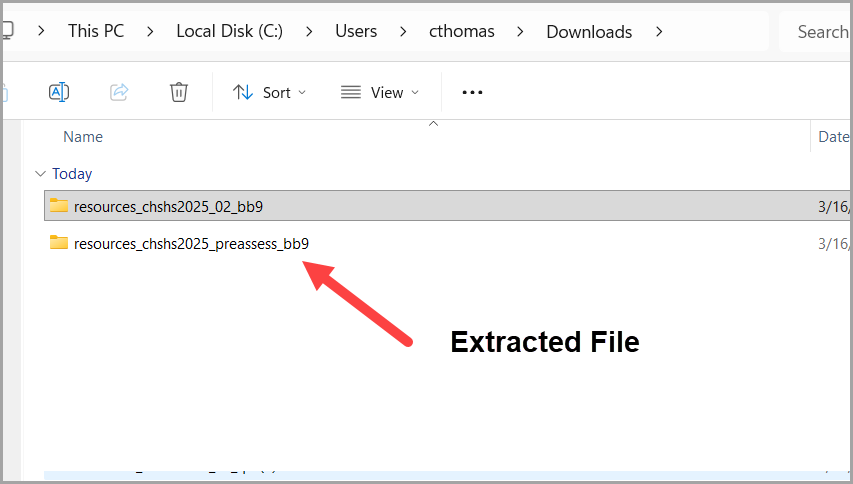
- Extract this folder as there are multiple .zip folders inside.
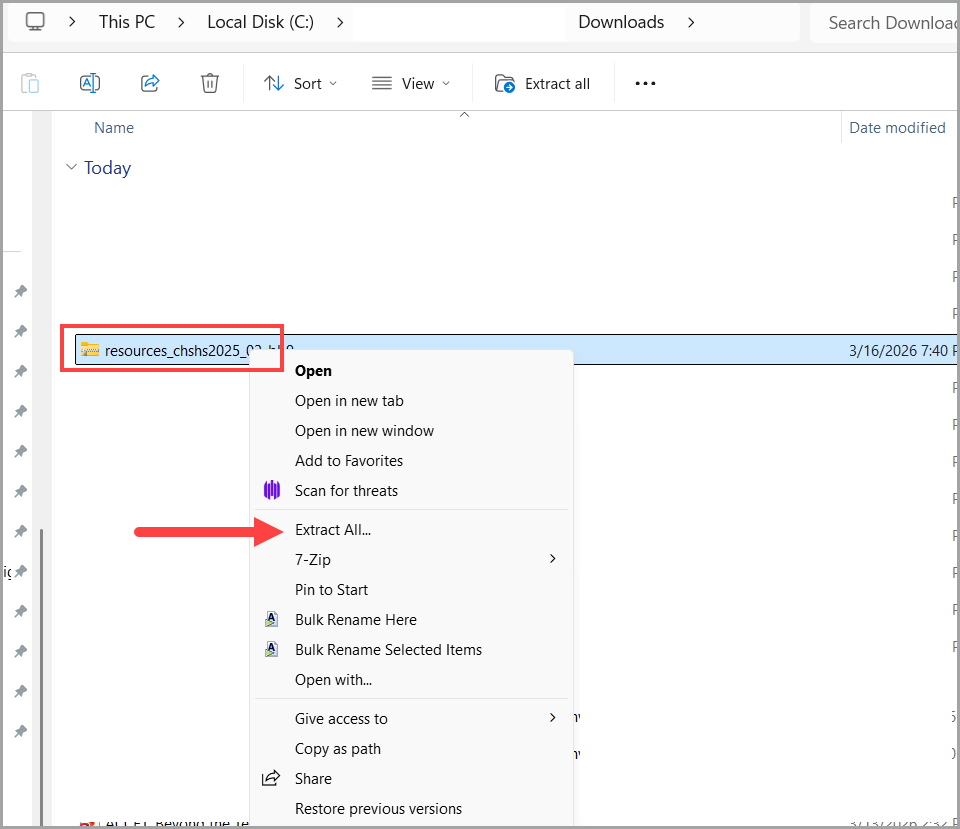
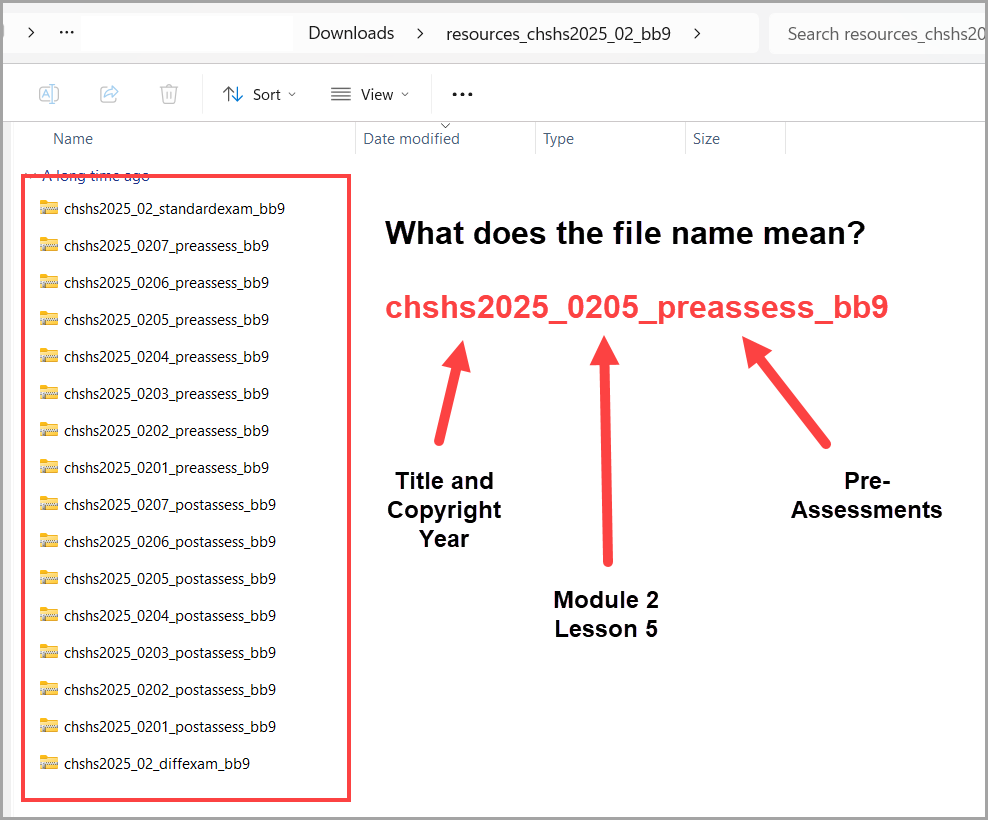
- Open the extracted folder to find one .zip folder for each module and lesson in the health resources.
Next, you will import each .zip folder into your Schoology Resources:
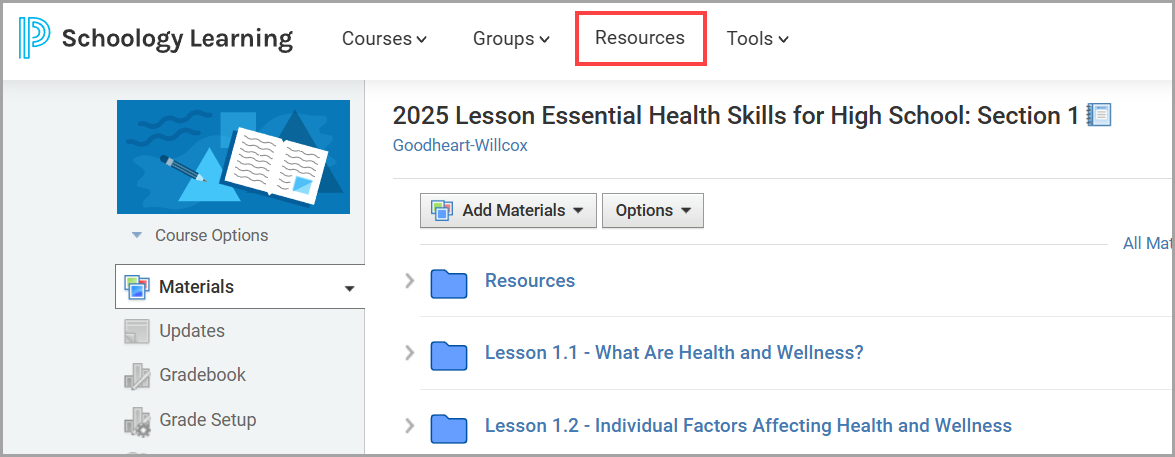
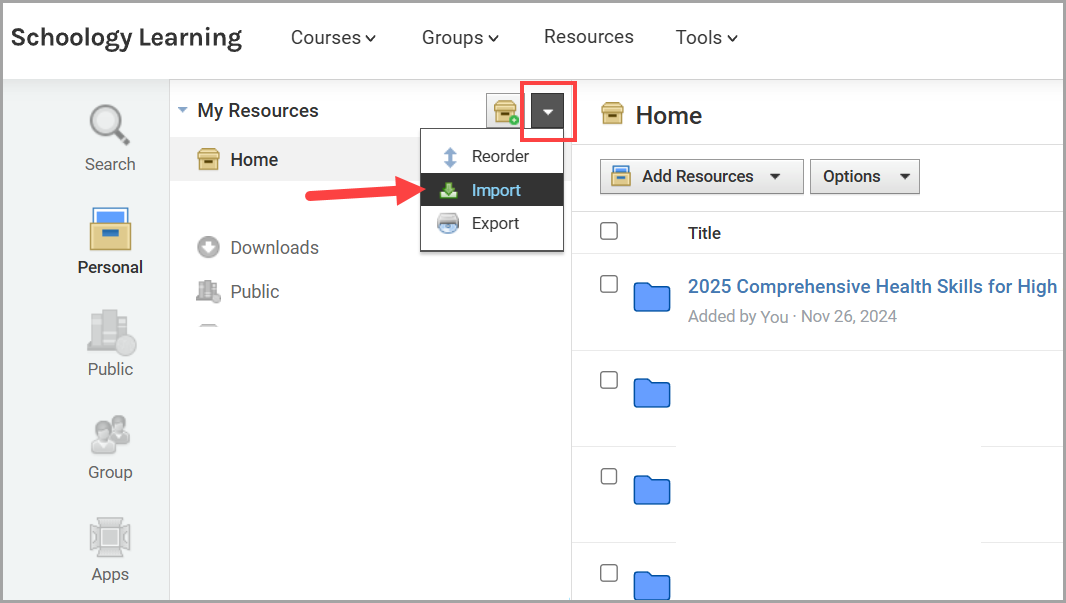
- Select Resources from the Schoology Menu.
- Select Import from the options in My Resources.
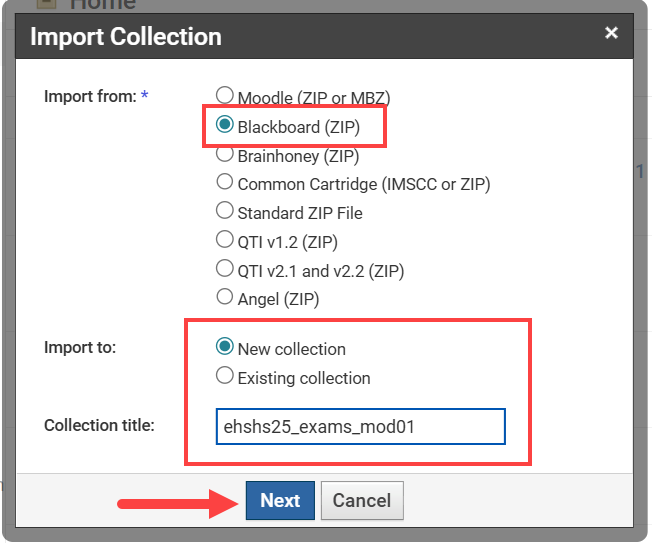
- The Import Collection dialogue box will open. Select Blackboard (ZIP) and either choose New collection and give it a Collection title, or choose Existing collection and find the collection to which you'd like to add these new question banks. Then select Next.
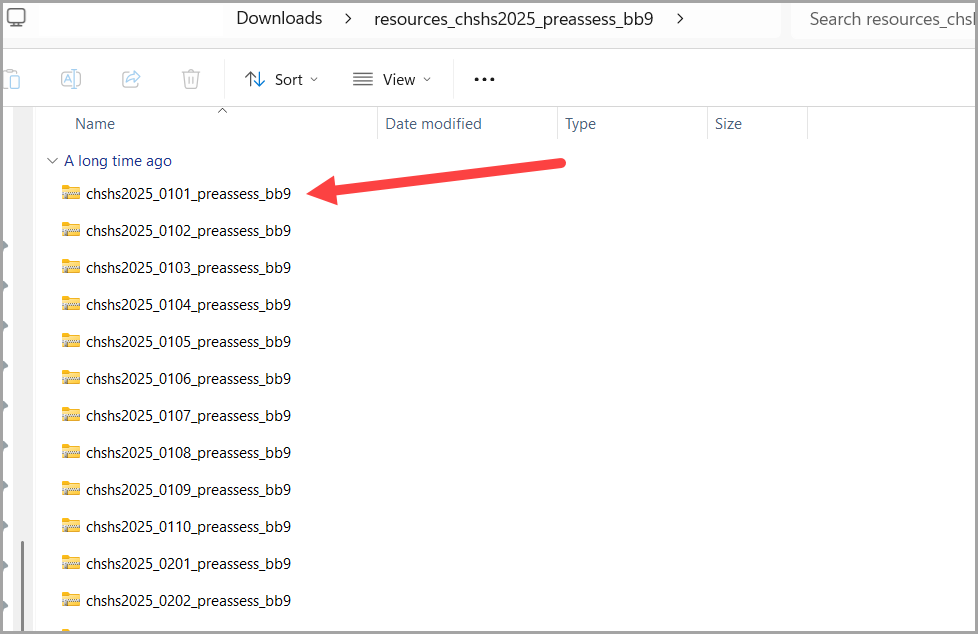
- A window will appear for you to find the file. Go back to your Downloads folder (or wherever you saved it) and double-click on the extracted folder.
- Now select one .zip folder to import into your Schoology Resources.
- Once it shows Complete, select the Import button.
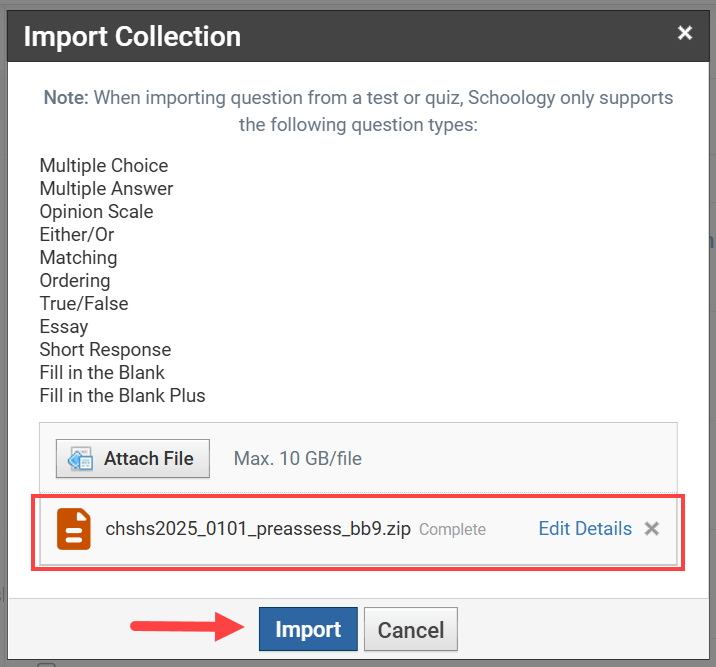
- A notification will appear showing your files are in the process of being transferred.

- Once the transfer is complete, your question bank files will appear in the dedicated collection.

- Repeat Steps 1-6 until you have all question bank files you would like in your Schoology Resources from all lessons in all modules.
Lastly, you may Create Assessments from your Schoology course:
The exam files have been imported as question bank files. In order to Create Assessments in Schoology, these question bank files must be converted to item bank files first.
- From your Schoology Resources. Go to the Collection with specific question bank files you'd like to convert. Select the Gear icon to the right of the question bank and select Convert to Item Bank.
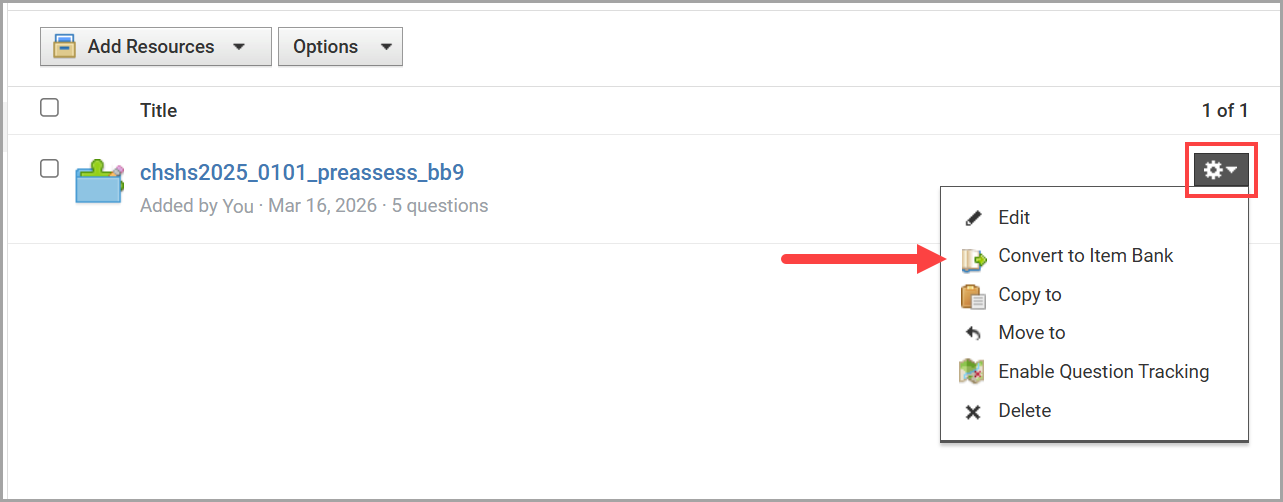
- A dialogue box will appear for you to select which collection and/or folder to add the Item Bank to. Once you have specified, select Convert.

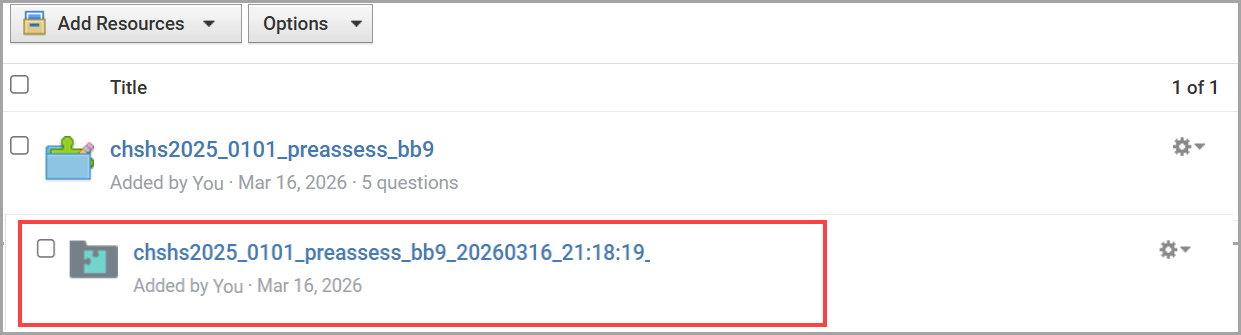
- Once the file has converted, it will have a different icon than the question bank file as you can see below. That icon represents the Item Bank for Assessments in Schoology.
- You may repeat steps 1-3 for all question/item banks with which you'd like to create Assessments.
Now you are ready to Add an Assessment to your health course from Schoology Resources
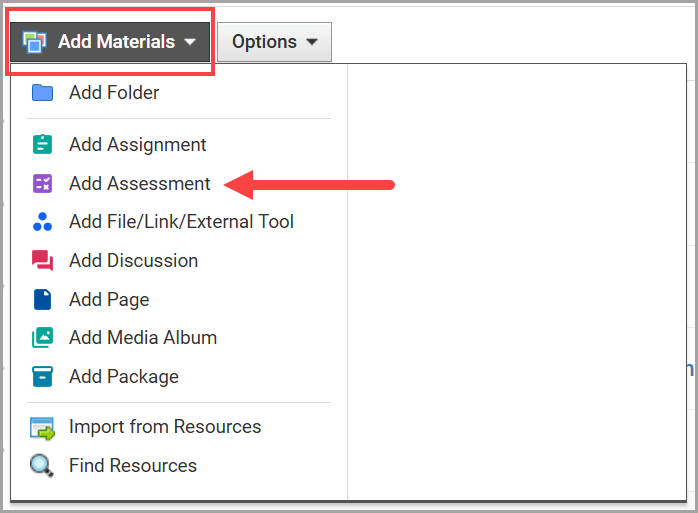
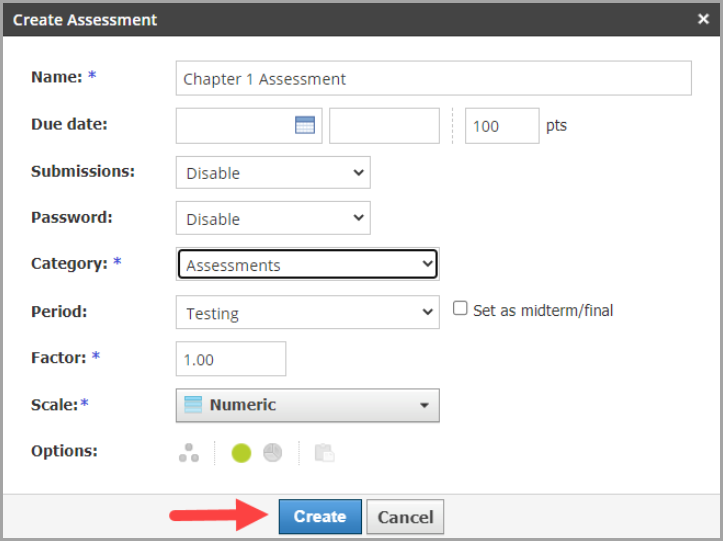
- From your health course, select the Add Materials drop-down menu and select Add Assessment.
- Enter all required fields from the Create Assessment dialogue box and select the Create button.
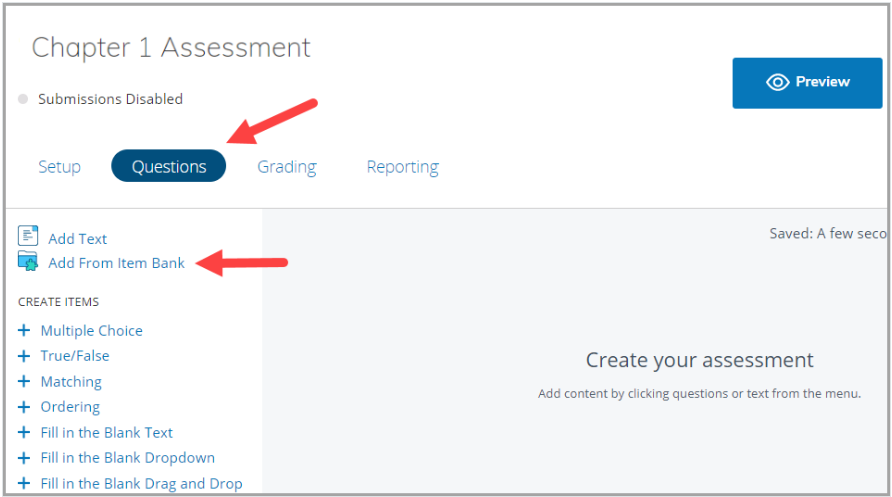
- On the next screen, select Questions and select Add From Item Bank.
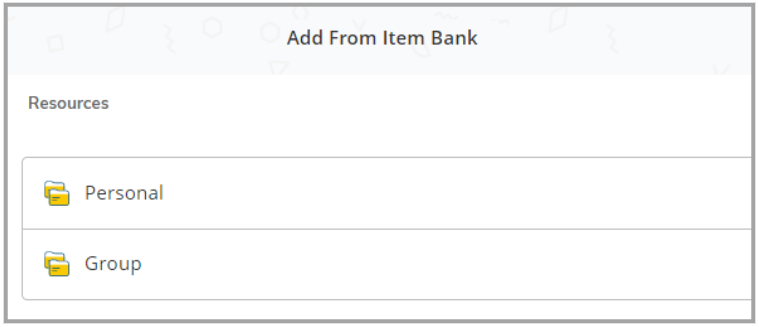
- Depending on the location of the Item Banks, select Personal or Group, and find the specific Item Bank file. In this article we have been working in the Personal Schoology Resources.
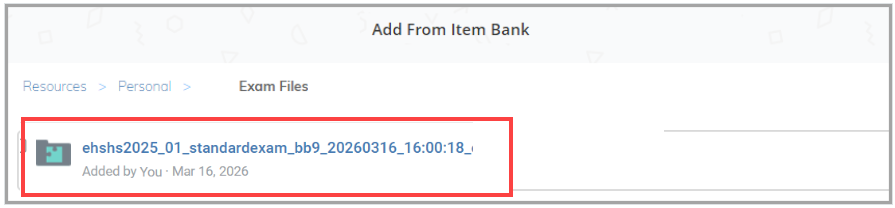
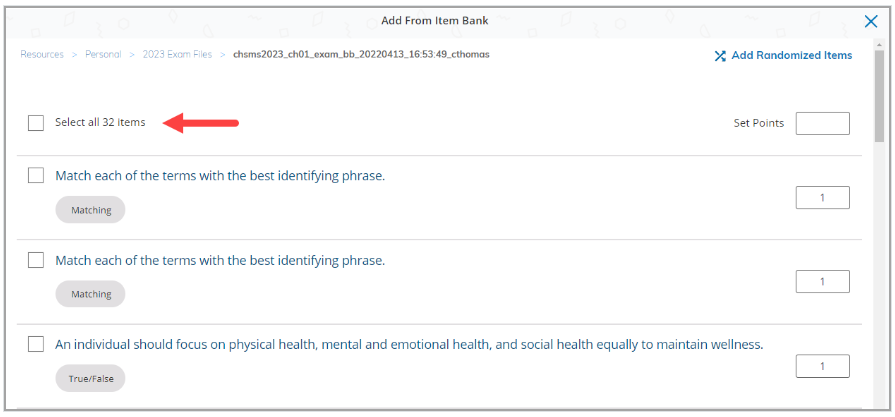
- Select the Item Bank file.
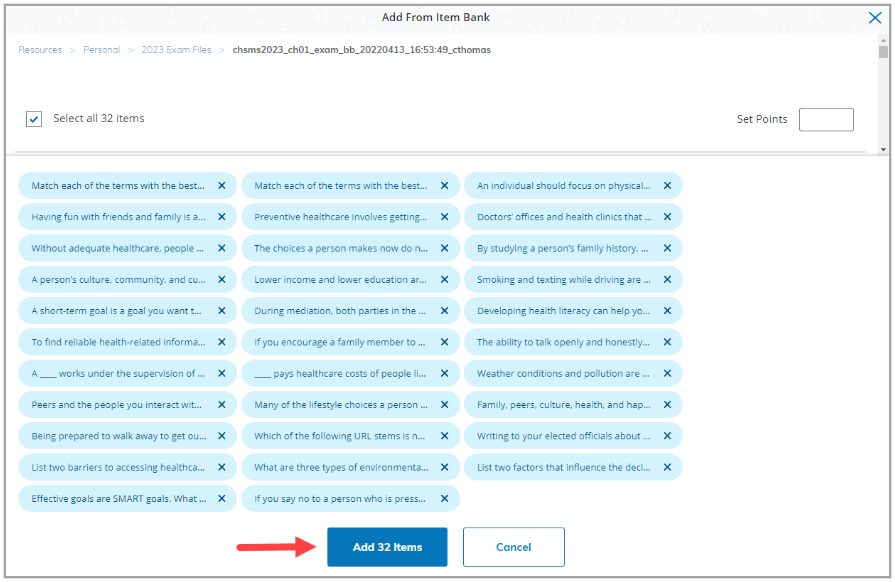
- Select all items in the Item Bank or select specific questions for this particular assessment.
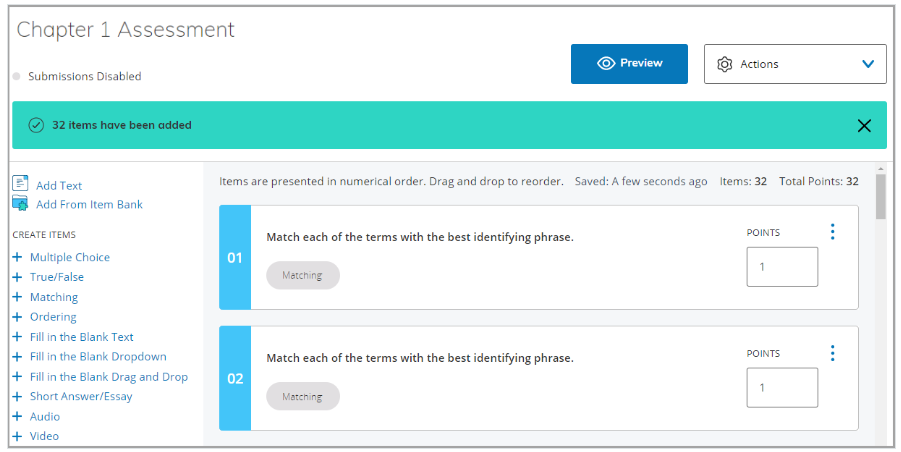
- Confirm the selected items are accurate and select Add Items.
- The assessment has now been created.
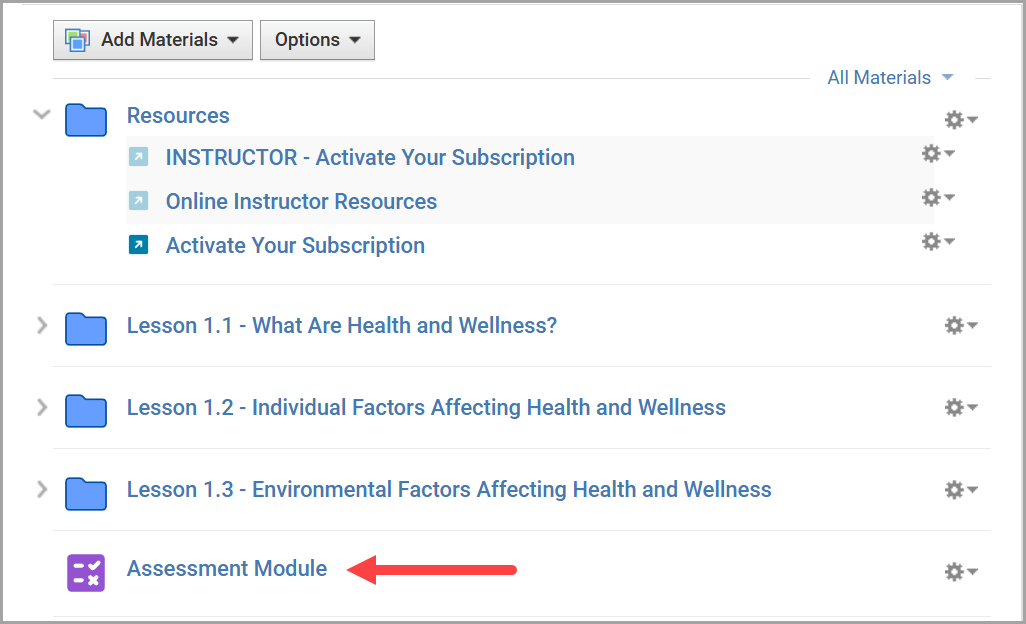
- The assessment may be found in your health course near the bottom of all resources in the course.
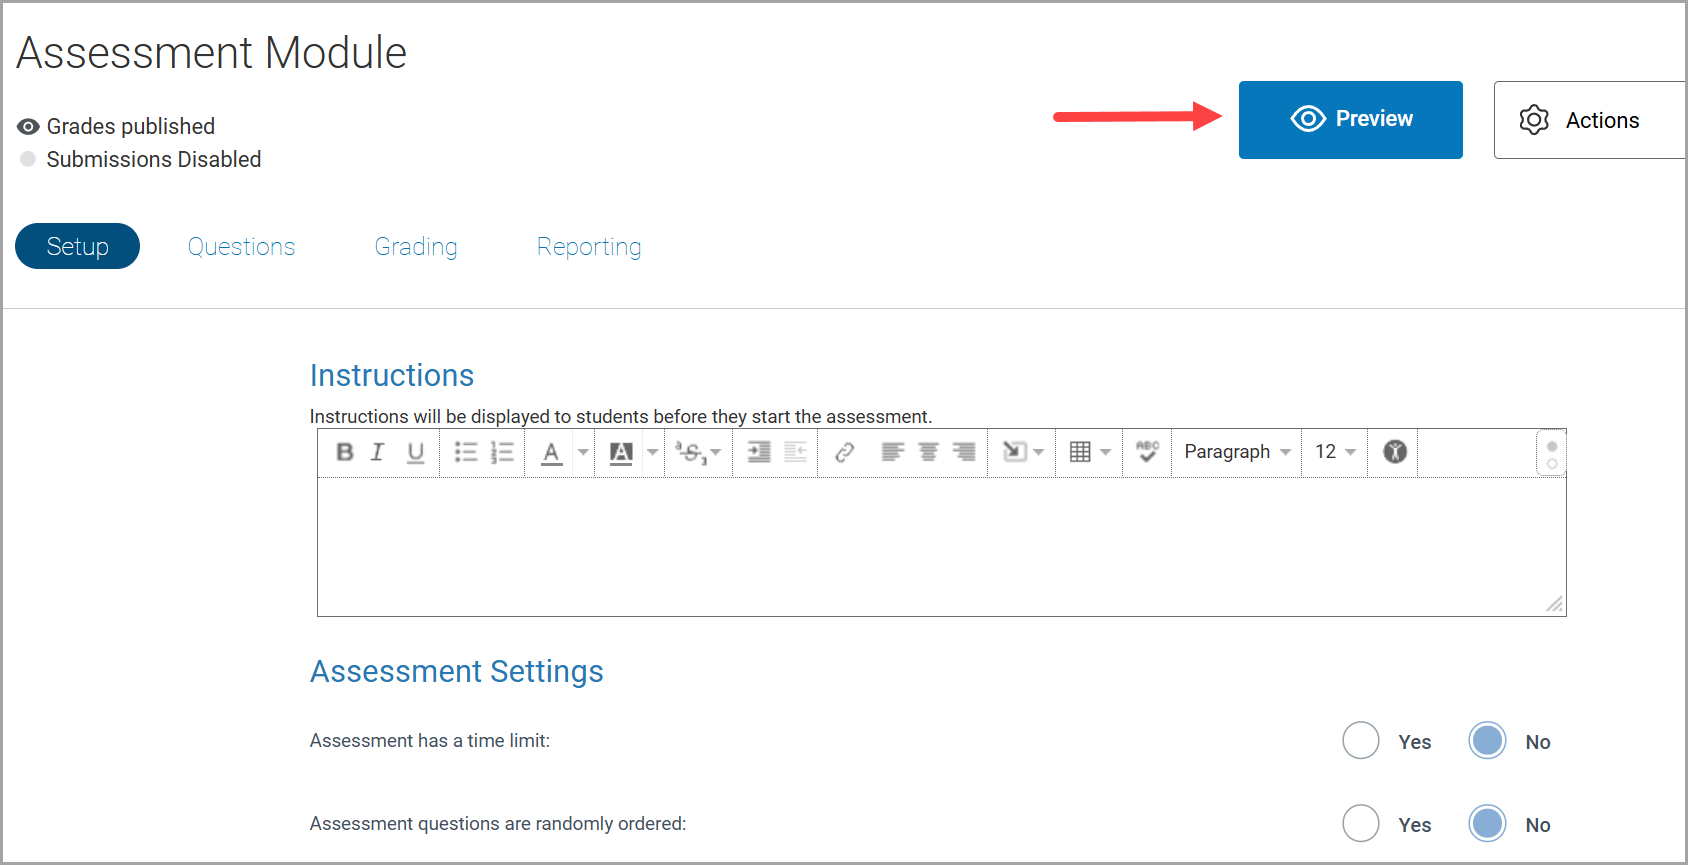
- Instructors may select the assessment and add instructions or any other settings found in Schoology. They may also select Preview to view the assessment as a student.