


Schoology: How to Import IMSCC Exam Files and Create Assessments

Aug 04, 2026
 6
6
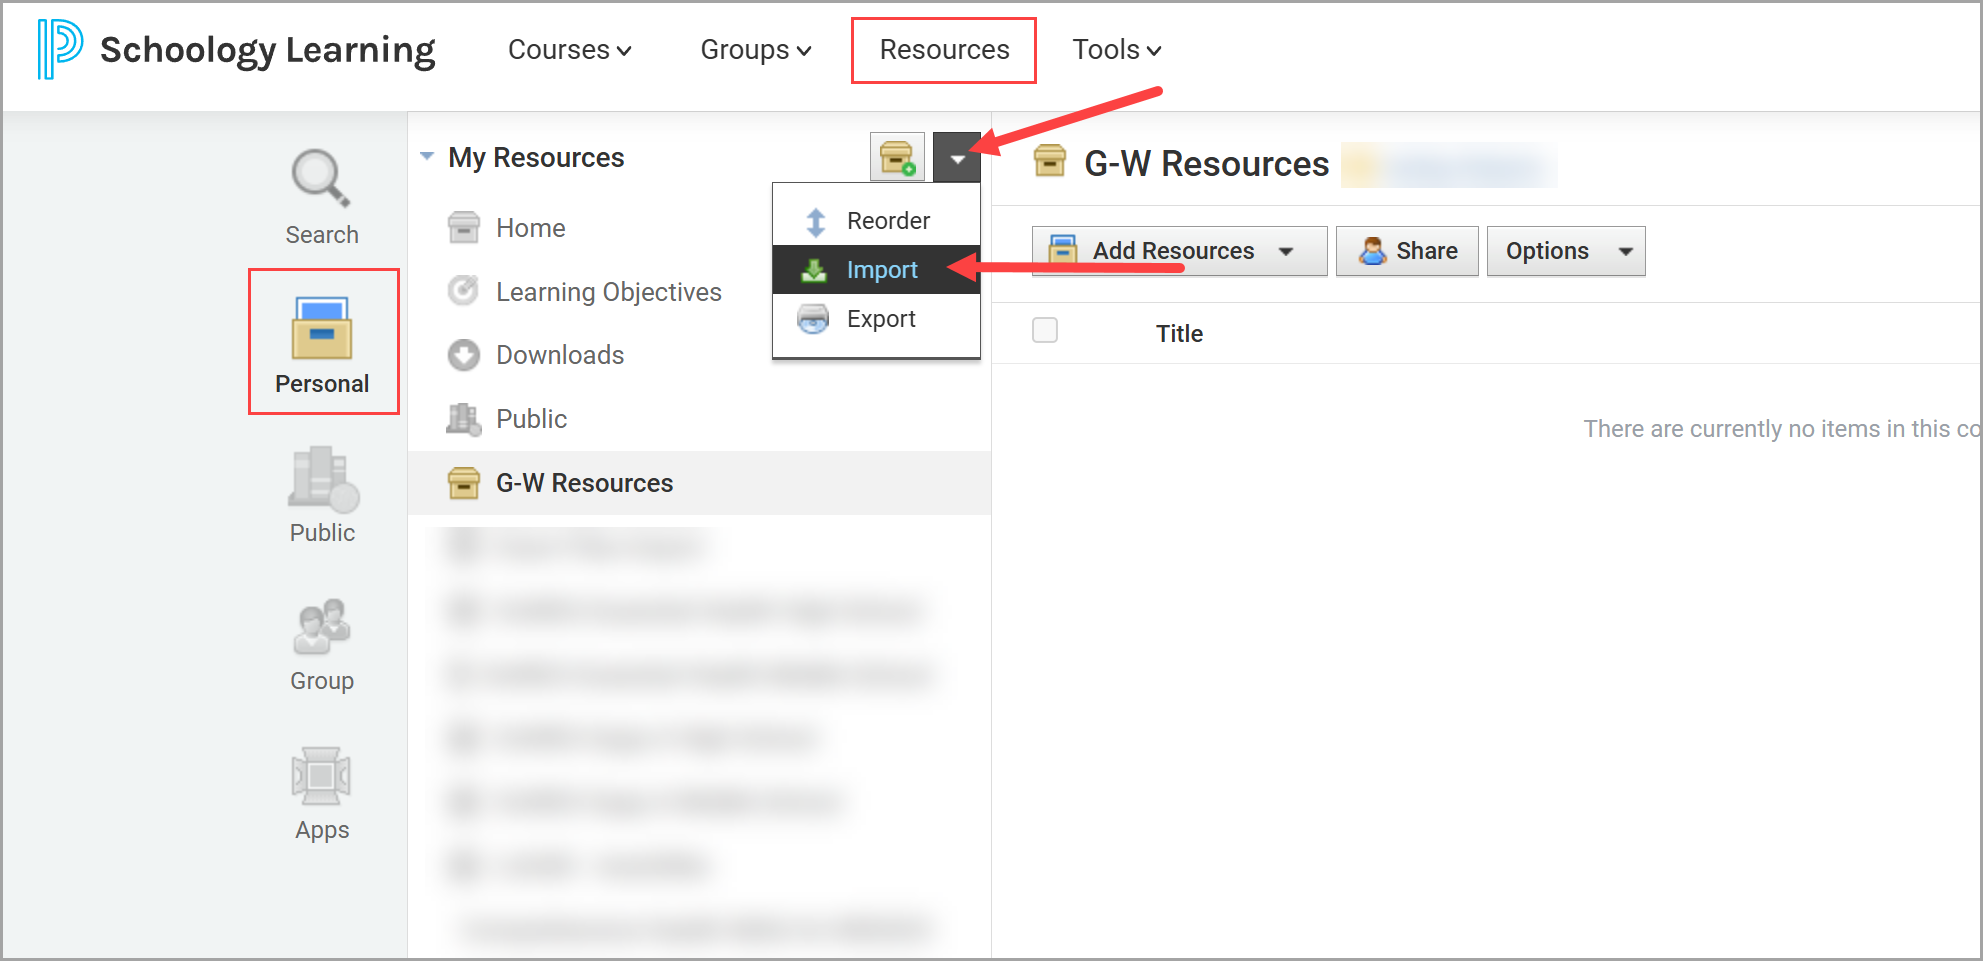
- Log into Schoology and navigate to your Personal Resources.
- Within My Resources, select the drop down arrow and select "Import".
- On the Import Collection screen, select "Import from: Common Cartridge (IMSCC or ZIP)". Then, select either "Import to: New collection" OR "Import to: Existing collection" depending on your preference.
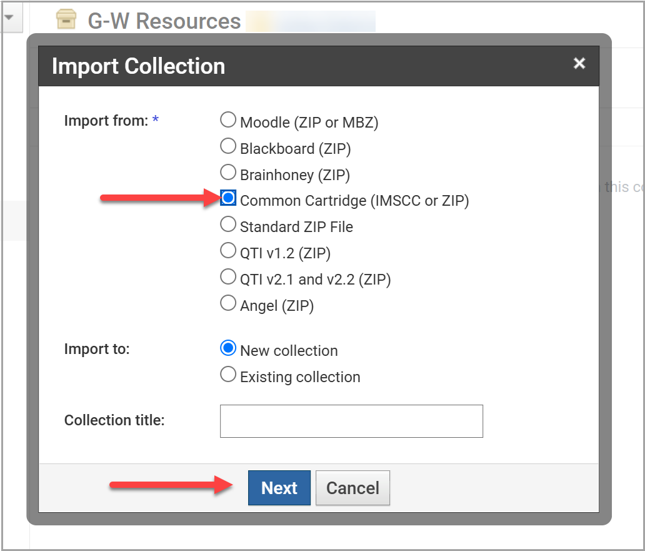
- Select "Next".
- Select "Attach File" and browse for the provided IMSCC file.
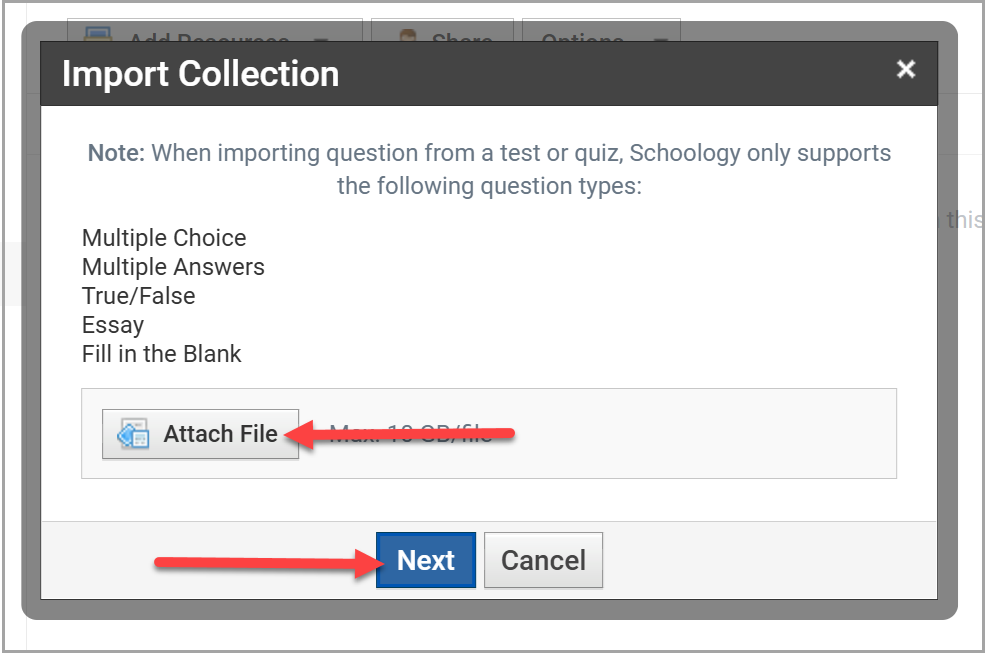
- Select "Next".
Convert Exam Files into Item Banks and Create Assessments
- Navigate to the Collection housing the imported exam files.
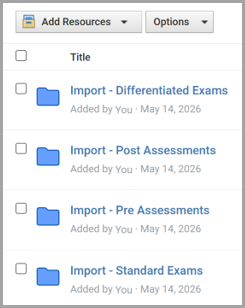
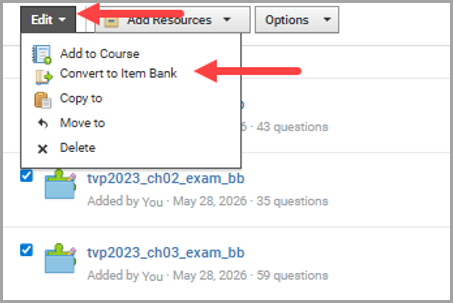
- To create Assessments with these files, they will need to be converted to Item Banks. To mass-convert the exam files into Item Banks, select the import folder and select all the exam files. Select "Edit", and then select "Convert to Item Bank".
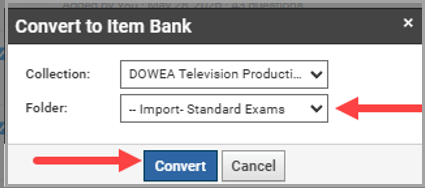
- Confirm the Collection and Folder you want to save the Item Bank to and select "Convert".
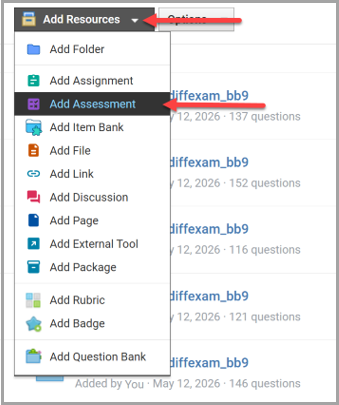
- Once converted, you can use the Item Bank files to create an Assessment. To Create an Assessment, select "Add Resources" and select "Add Assessment".
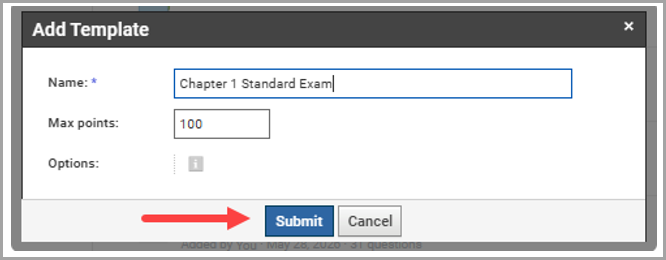
- Name the Assessment and select "Submit".
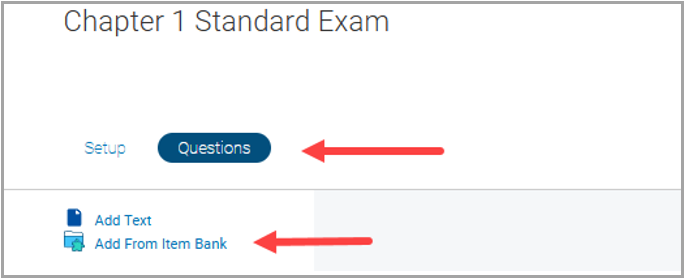
- Select "Questions", and then select "Add From Item Bank".
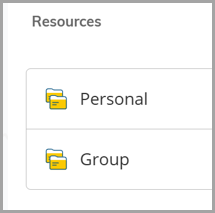
- Select "Personal" or "Group", depending on where your Item Banks are saved, and locate the folder that houses the Item Banks.
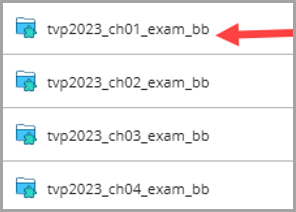
- Once located, select the Item Bank you wish to select questions from.
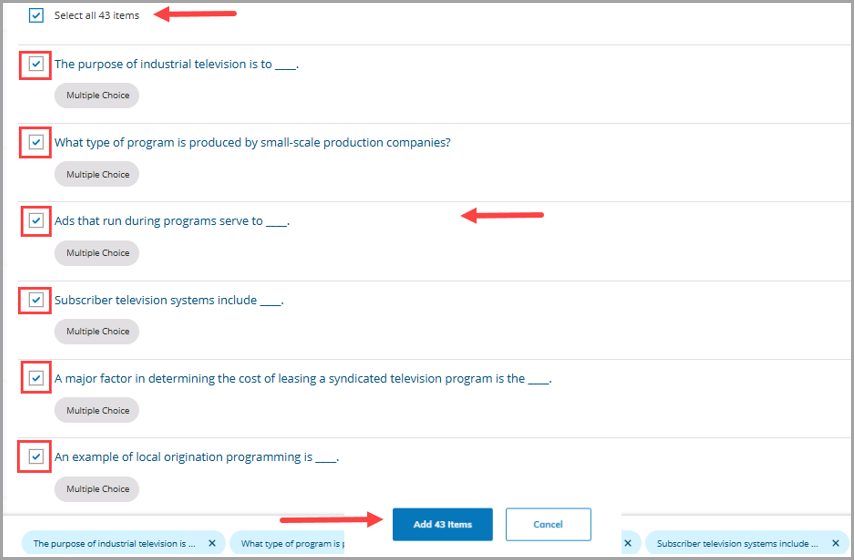
- You can choose to Select All items or select individual questions. Once chosen, select "Add # Items".
- Your newly created Assessment will reside in the originating folder you selected to Add Assessment.

